Admin
As you probably know Minecraft comes in two main editions: Bedrock and Java. Each version boasts unique features, catering to different types of players. However, the desire to transfer a meticulously crafted Bedrock world to Java Edition is a common request among the Minecraft community. We crafted a comprehensive guide to walk you through converting a Bedrock world to Java Edition, ensuring that your creations are flawlessly carried over.
To fully grasp the conversion process, it's important first to understand the key differences between the two Minecraft editions.
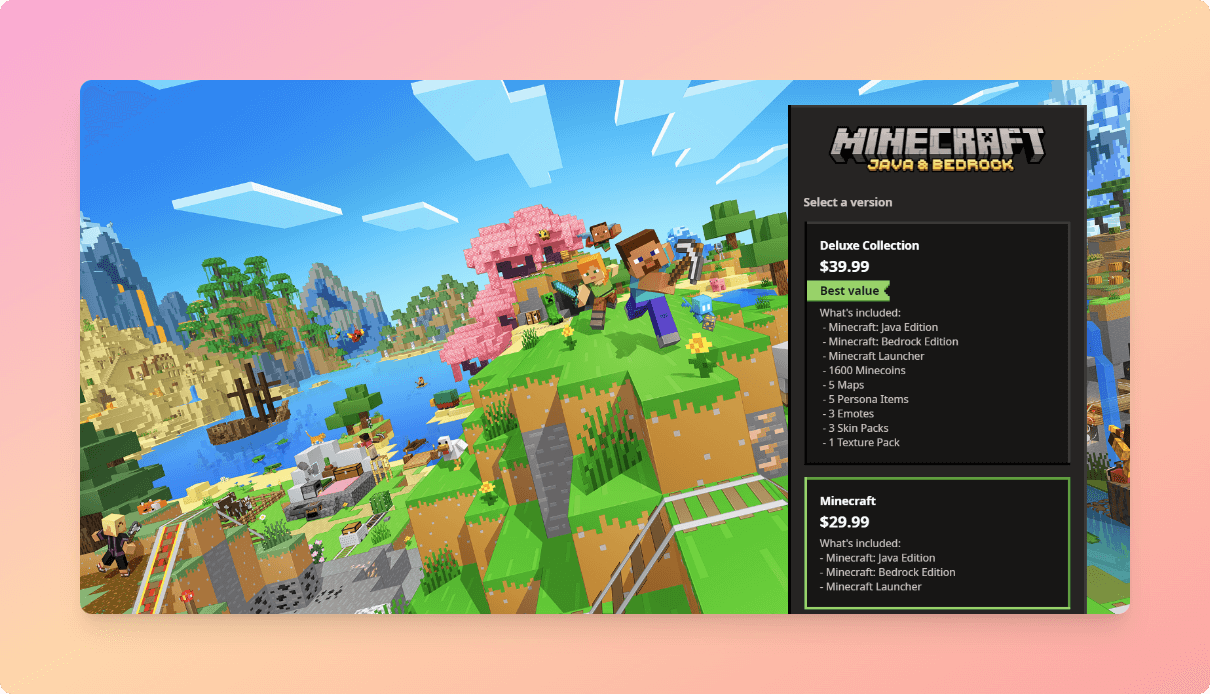
Minecraft Bedrock Edition is known for its cross-platform functionality. You can play with friends on Windows 10/11, Xbox, PlayStation, and mobile devices. This edition also features a marketplace where you can purchase skins, texture packs, and worlds. Bedrock is optimized to run efficiently on less powerful hardware and allows for the use of addons, although these are generally less powerful than Java mods.
Minecraft Java Edition is exclusive to PC gamers. It supports extensive customization through an active modding community. Java Edition receives regular updates and experimental features and offers access to dedicated multiplayer servers with various mini-games. This version also has a vast library of skins, resource packs, and mods available for use. For those looking to explore a wide variety of servers, including Java, Bedrock, and cross-platform options, check out this Minecraft server site that provides a comprehensive list of available servers.
Before initiating the conversion process, it’s vital to create a backup of your Bedrock world to safeguard your progress and creations. Here’s how to do it:
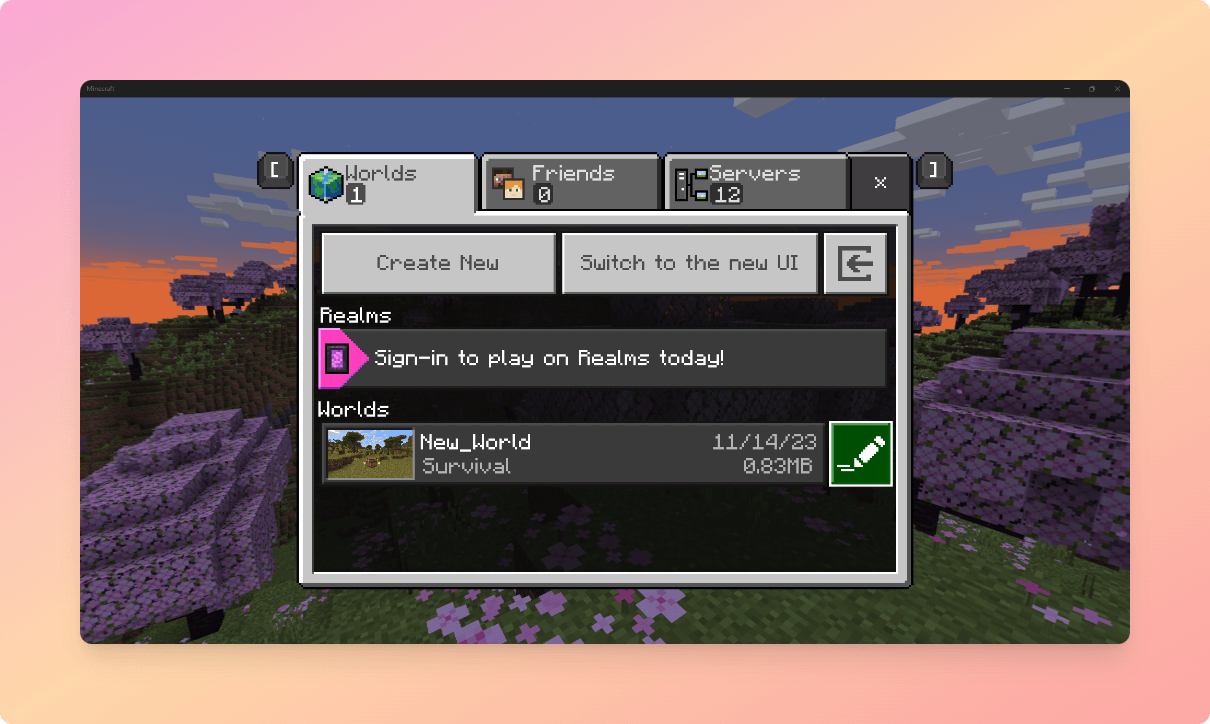
Store this backup in a secure place to prevent any loss of data.
To begin the conversion, you’ll need to locate the files associated with your Bedrock world.
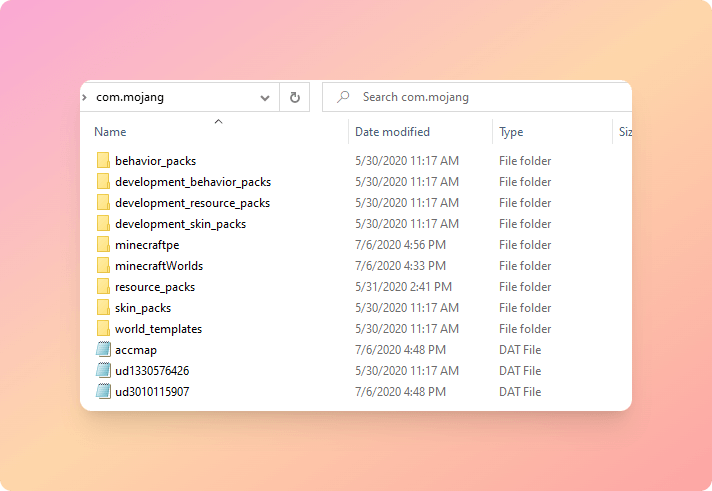
Accessing world files via the console's file management system might be required. Follow the console-specific instructions to locate and copy your world files.
Ensure that you have Minecraft Java Edition installed on your PC to proceed with the conversion.
Make sure you’re using the latest version of Java Edition for a smooth experience.
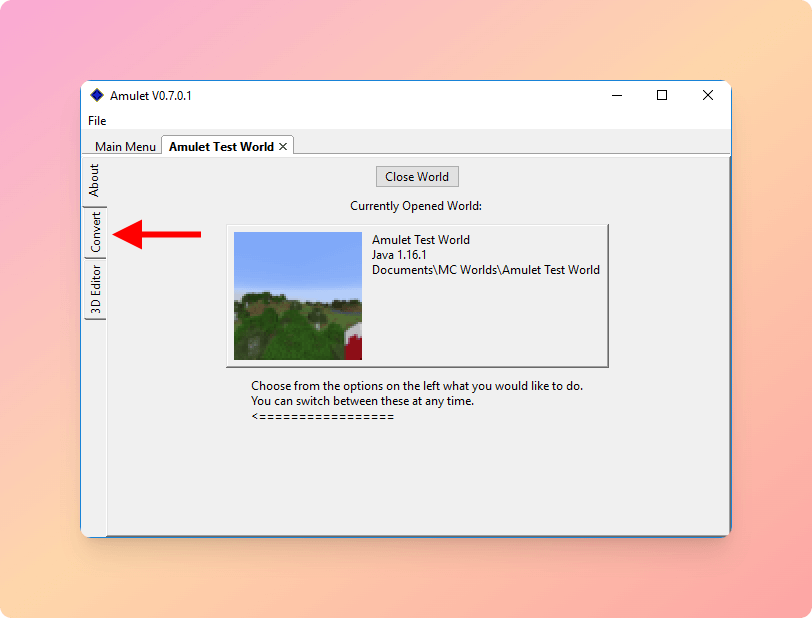
To convert a Bedrock world to Java Edition, third-party tools like Amulet are indispensable.
Once the conversion is complete, it’s time to import your world into Minecraft Java Edition.
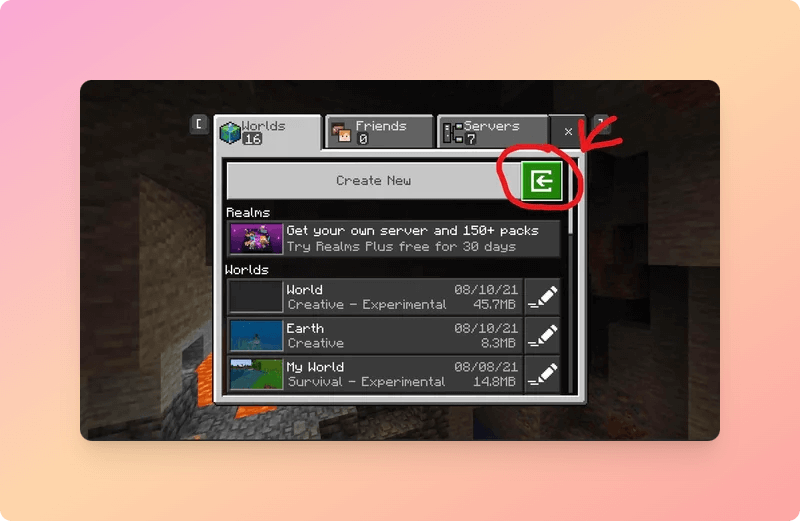
After the conversion, test your world to ensure everything is functioning correctly. Here are some tips for troubleshooting:
If you encounter any issues, consider seeking help from the Minecraft community or forums.
Q1: Can I convert a Java Edition world to Bedrock Edition using this process?A1: No, this guide is specifically designed to convert a Bedrock world to Java Edition.
Q2: Will my Redstone devices work in Java Edition after conversion?A2: Redstone mechanics differ slightly between editions. Some devices may require adjustments.
Q3: Are there alternative tools for world conversion?A3: Yes, various tools and methods exist, but Amulet is among the most user-friendly.
Q4: What happens to my custom skins and texture packs after conversion?A4: Custom skins and texture packs don’t transfer automatically. You’ll need to find Java Edition equivalents.
Q5: Can I still play my Bedrock world after converting it to Java?A5: Yes, your Bedrock world remains intact and accessible.
Q6: What are the limitations of Java Edition?A6: Java Edition is more resource-intensive and is only available on PC, limiting cross-platform play.
By following this detailed guide, you can successfully transfer your creations from Bedrock to Java Edition, enabling you to enjoy the best of both worlds.